Step 1: Rename the Transit PPF file to a ZIP file:

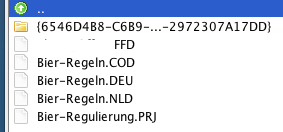
Step 2: Open the ZIP file and take out the source language file(s)
In this case there is one source language file, it has the extension .DEU. Copy it to your CafeTran project folder.
NOTE: You can look up the three-letter language-codes
TIP: If you prefer, you can rename the source file extension to that of your target language right now.
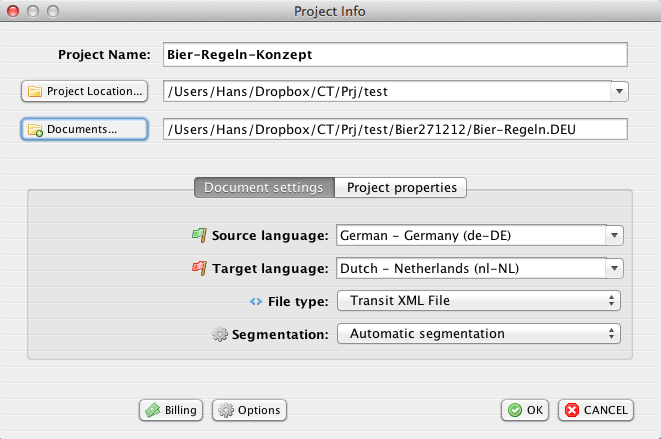
Step 3: Load the source language file(s) via the Project Manager:
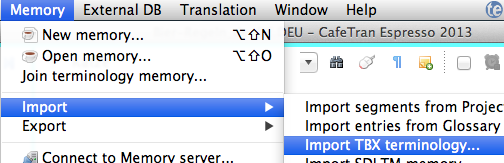
Step 4: Import any included TermStar files from the PPF:
Select Import TBX Terminology:
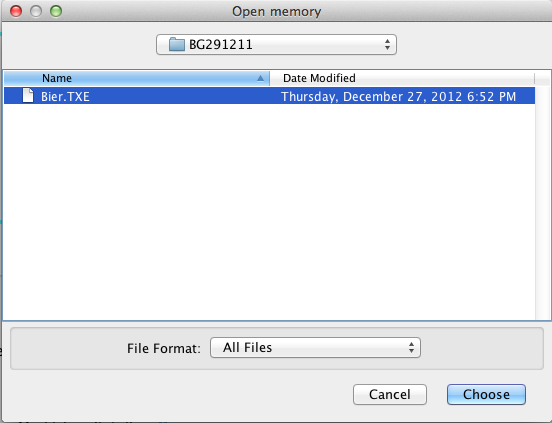
Step 5: In the ZIP folder navigate to the folder that starts with an accolade.
Look for any TXE file(s). Here: Bier.TXE:
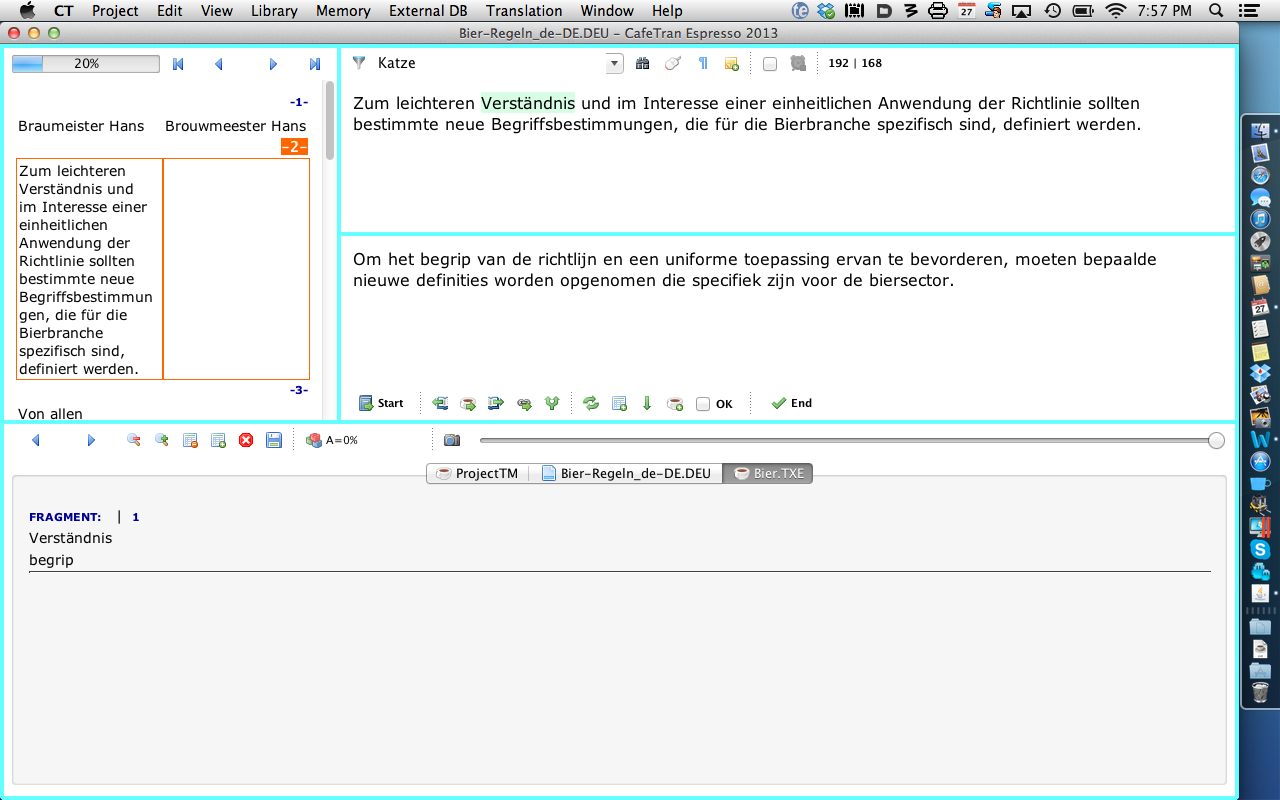
The source language file is loaded, recognised terms from the imported term file are highlighted:
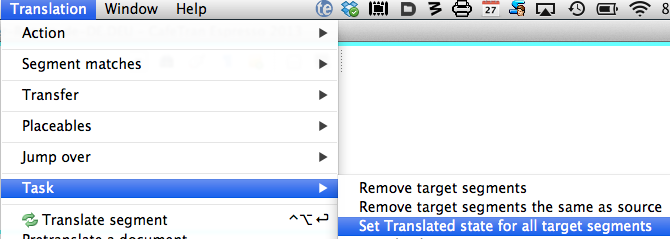
Step 6: Finish the translation, set the segment status of all target segments to 'Translated':
Step 7: Export the translated file(s):

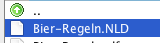
Step 8: Rename the extension to that of your target language:
NOTE: You can look up the three-letter language-codes
TIP: On Windows you can use TotalCommander's File | Multi rename. On Windows, Linux or OS X you can use the free muCommander's File | Batch rename.
Read more about Using legacy translations in Transit projects
NOTE: When translating Transit projects that contain Quicksilver/Interleaf files, you can benefit from adding special characters for non-breaking spaces to Edit | Options | Memory | Additional space characters (e.g. U+2009).
Better Handling of Transit's Markups in CafeTran
CafeTran's handling of Transit's language pairs is even better than that of Transit itself:
- Segment-spanning tags (Transit's Markups) are taken outside the segment: less tags in the segments.
- Adjacent tags are combined: less tags in the segments.
- Tags are inserted much easier (6 different ways, mouse or keyboard: at your preference).
- Tags are numbered per segment, not per paragraph: easier insertion with the keyboard (the Transit way to insert via Ctrl+number is limited to 1-9).
Import settings in Transit
For best results/compatibility, ask your client to adjust the import settings for Transit like this:
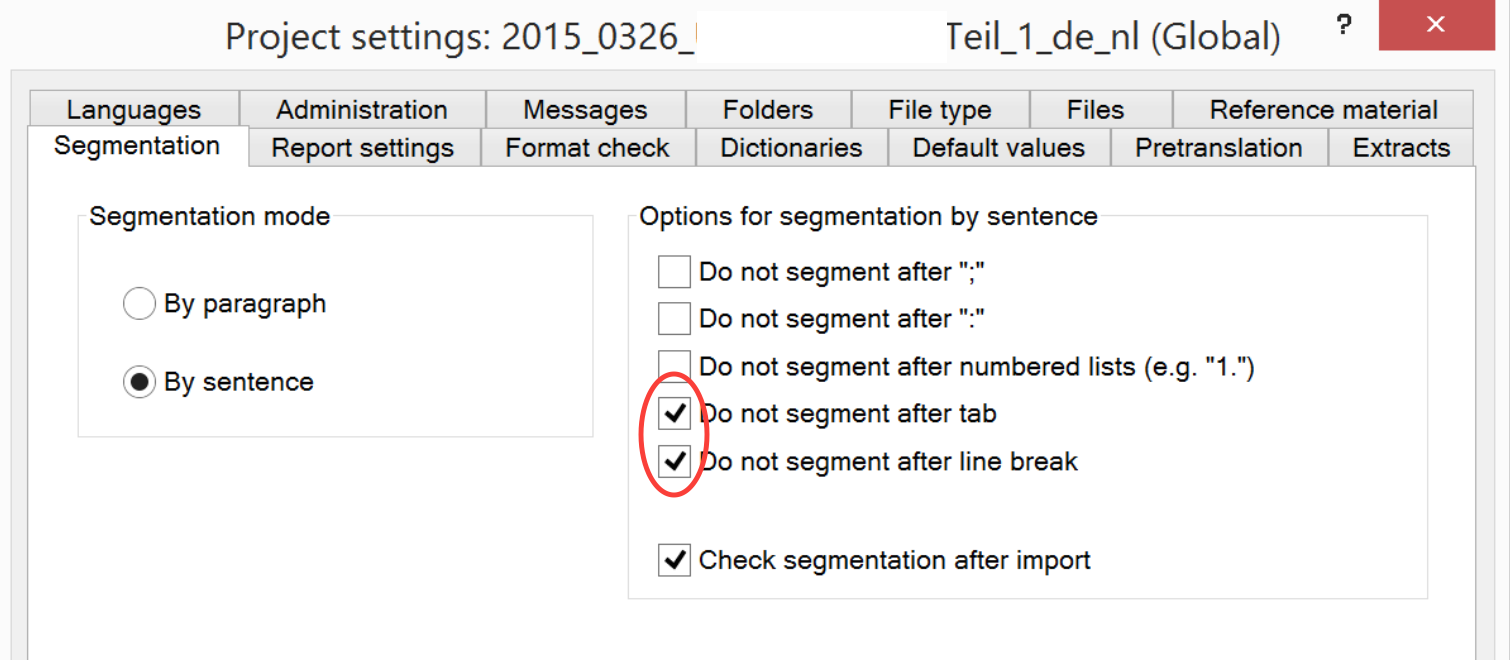
Both Do not segment boxes should be unticked!
Why can't I export my target files from Transit?
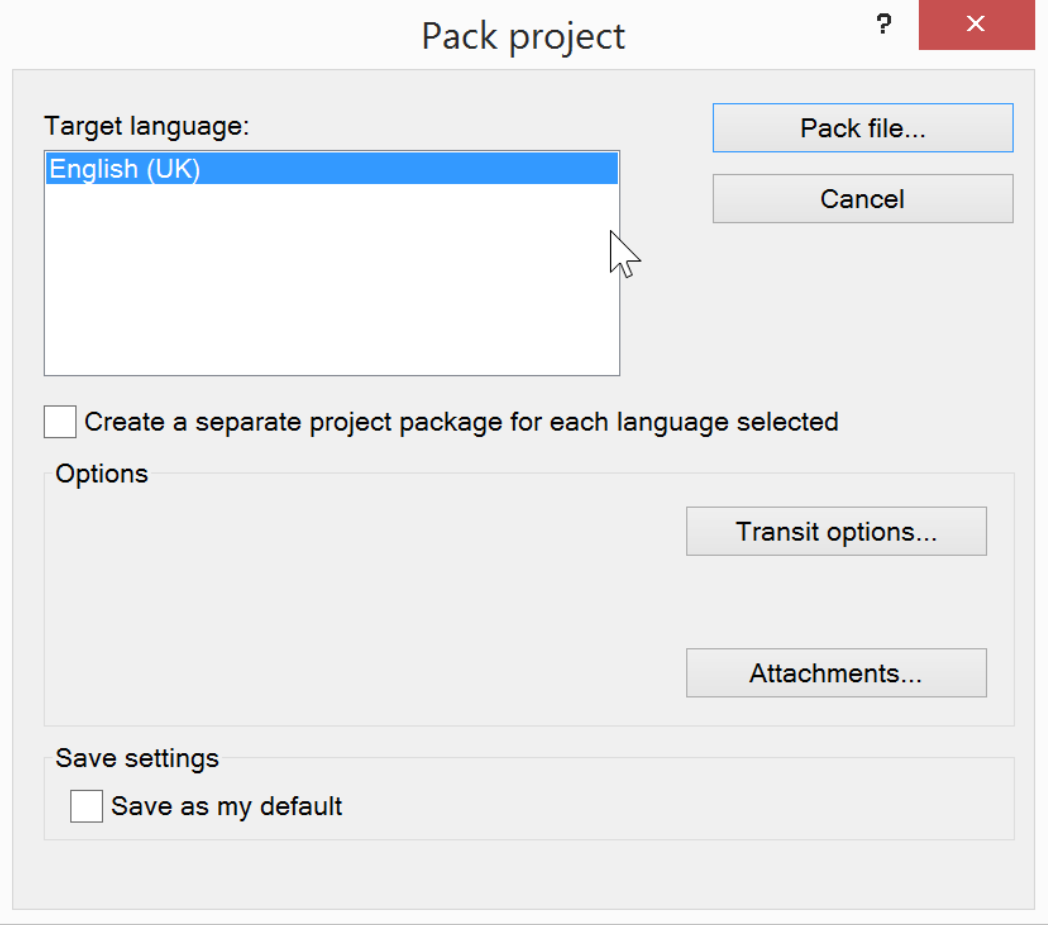
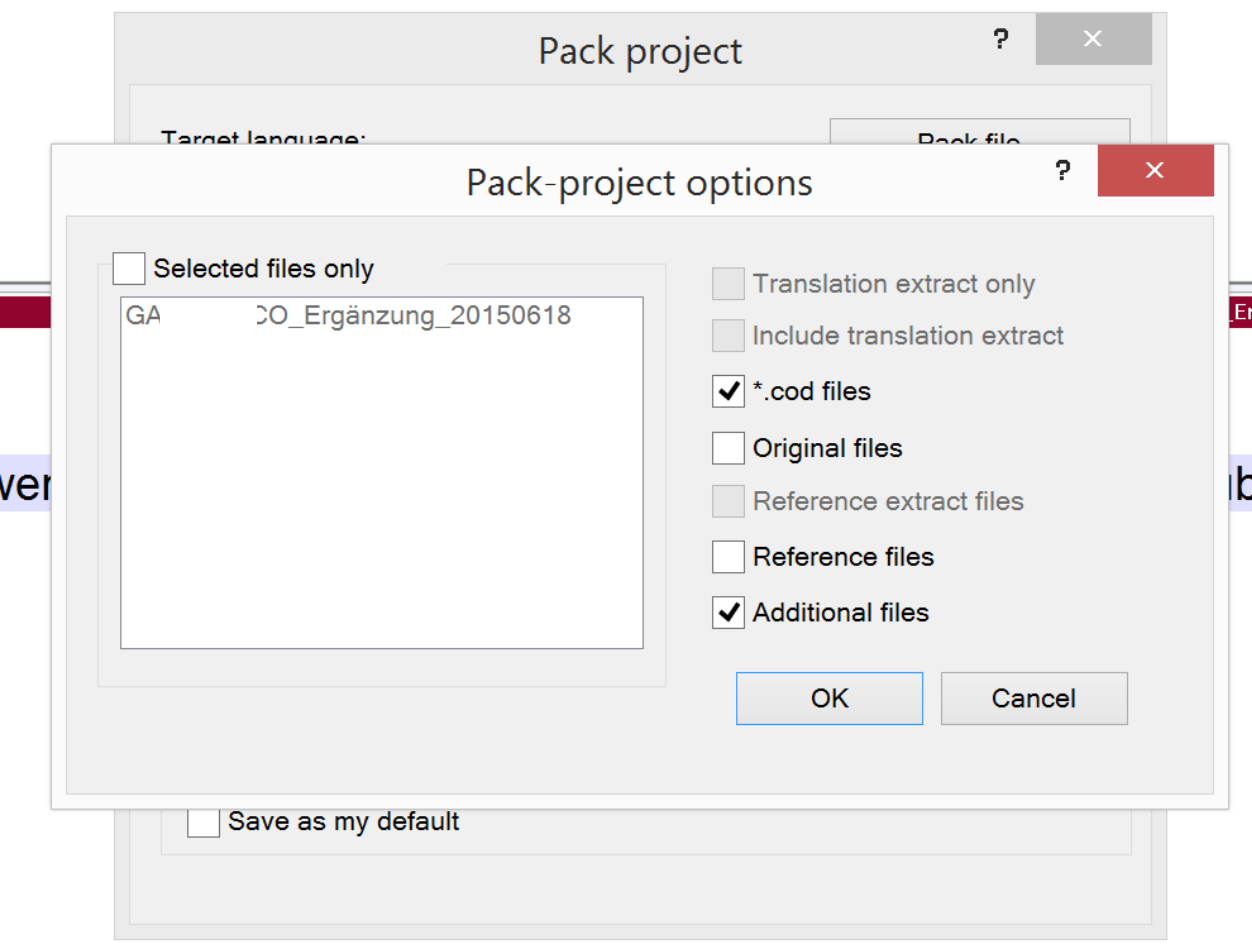
In order to enable you as a translator to export from Transit any files that you have translated with CafeTran, your client should allow you to do so. She can do this by ticking the *.cod files checkbox in the Pack-project options dialogue box.
This Pack-project options dialogue box is called during the creation of a PPF file from the Pack project dialogue box by clicking the Transit options … button:
and:
PLEASE NOTE:
When you client has forgotten to tick the *.cod files checkbox, your PPF project package can still contain COD files. Luckily, you can force Transit to allow you to export your target files (e.g. for reviewing/checking the layout).
When the HasCodFiles in the Project section of the PRJ has the value '1', the Export button is active and the project can be exported (when the COD files are present).
[Project]
HasCodFiles=1
Further reading:
http://cafetran.wikidot.com/using-legacy-translations-in-transit-projects
http://cafetran.wikidot.com/unpack-transit-projects-automatically